![]()
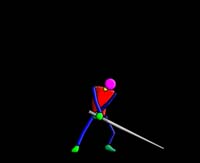
With this technique, you will definitely need some reference frames from your character. In my example, I just use a stick figure doing a sword slash. If your character uses a sword or weapon that makes a slash then you'll be using this technique a lot. Also, this technique uses paths and vector shapes so if you don't know how to use them or are unfamiliar with them then I suggest you learn before you begin this tutorial to get the hang of things.
1) The first thing you do is to create a PSD image where each one of your character sprites are on a new layer and the opacity of each layer is set about 20% (or at an opacity enough to just see each frame with decent detail).
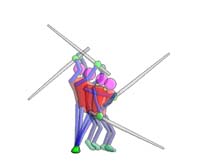
It makes things easier if you put these bunch of layers into a layer set so you can just turn off the layer set instead of each layer. It's up to you, though.
If you are unfamiliar with layer sets, have a quick browse at the second ray burst tutorial to give you a basic idea.
2) Now, create a new layer and call it something like "slash spare". Here we create the main slash which will the basis for other frames. Although there are a number of ways to do a slash effect, we'll stick with something simple at the moment.
After you have your new layer, click on the pen tool and start draw a curve which covers all the movements of your characters attack. See below to get an idea of what I mean.
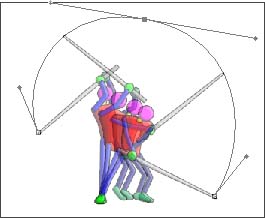
For the moment, I've just done a simple curve covering the arc of the tip of the sword.
3) Use the Path selection tool and make a copy of your curve. Paste it then reshape it so that it curves to the base of the blade and matches the tip curve. Look below to see what I mean.
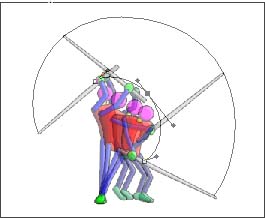
4) Select the Pen tool again then click on these two end points to join the curves up. It should be a straight line as I am using a straight sword. If you want, you can make it a curved line but this is neater.
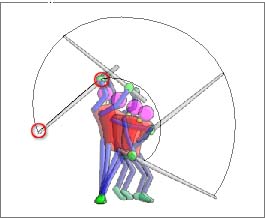
5) Now do the same with the start points so you get a closed off path.
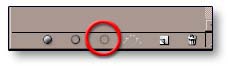
6) At this point you will want to go into the paths palette and drag the 'work path' layer to the new path icon so that you store your path for future use, otherwise, you can lose it by accident.
7) Don't exit the path palette yet. Make sure that the (whole) path is selected then click on the icon which turns the path into a selection.
8) Now, you can exit the path palette and go back to your layer palette. With the "slash spare" layer active, pick a black colour (temporarily) then press Alt + Delete to fill your selection in.
Once you've done that, you can deselect.
9) Copy this spare layer a few times depending on how many frames your slash is.
Note: you can also have a few extra frames/layers for the end of the slash when it dies out.
For the moment, I have made 5 copies. Rename each copy so that you know which order they go in. Just keep it simple and just rename them 1, 2, 3 etc..
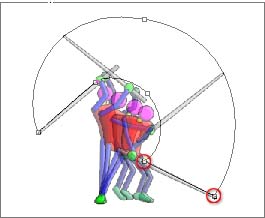
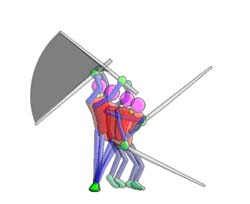
10) Turn off all layers except frame 1 of your slash and the character reference frames. Also, change the opacity of your frame 1 slash to about 50% so that you can see the character reference frames underneath.
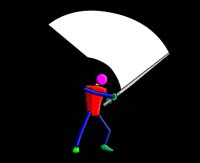
11) Slash effects usually occur on the second frame of the sword/weapon swing so, using the second character frame as reference, we delete anything "in front of" the slash. Have a look below to see what I mean.
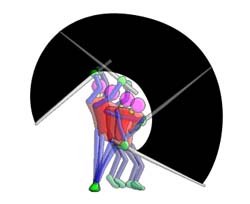
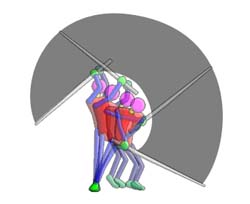
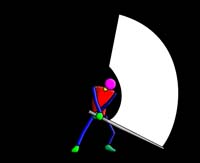
12) Now turn off your frame 1 slash layer and turn on the frame 2 slash layer. Now, using your frame 3 character reference, delete the part of the slash that is unnecessary.
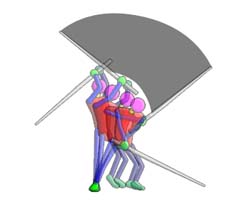
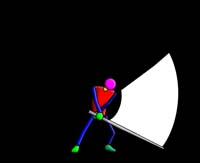
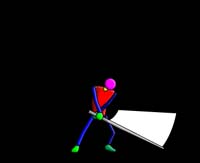
13) Now keep doing this for all the other frames you have. As well as deleting the "front" of the slash, don't forget to delete the "back" of the slash, too, as it dissipates. Have a look at my samples below to see what I mean. (Note that I have made the slashes white and the background black.)
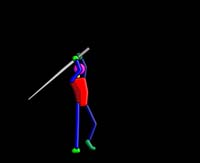

Note: The slash doesn't actually dissipate (IE dissolve). The slash in fighting games is meant to represent the blurring of a weapon/object to give the idea of movement. I suppose they made them coloured to be more theatrical in their presentation and it just seemed to catch on to become the normal thing to do.
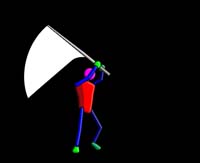
14) And, basically, this is your slash effect. From here, you can decide how you want the slash to work. For example, do you want the slash effect as part of your sprite or do you want to keep it separate? The other thing to think of is shading. If your slash is not too curvy you can easily colour it with gradients or just decide to paint things manually. It's really up to you.
| Now let's to make an "Electric Ball" |
|