![]()
In this tutorial, we will be working on making an energy column, an effect commonly used in fighting games. This technique will just cover a basic energy column so it will be up to you to make it look more fancy. However, at the end, I will give you a little fun tip which can spice it up.
1) We start off by creating a 200 by 100 canvas and filling it with black.

We start off sideways because we will be using the wind filter for some rough edges. It will become clear to you later, anyway.
2) Create a new layer, fill it with black and rename it "column". From now on, you will keep this layer always at the top.
3) Select the circular selection tool and create a filled white oval shape at the right side of the layer so it looks like below.

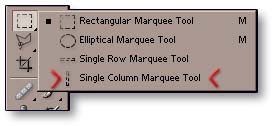
4) Select the single pixel column selection tool and select a single line down the middle of the oval.
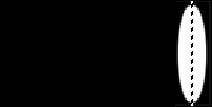
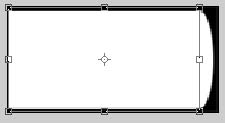
5) Use the transform tool and stretch this selection out so that it looks like below
 .
.
6) Once you have done this, deselect (Ctrl + d) and set the layer opacity to "multiply" create a new layer underneath "column". Rename it "1".
7) Use the selection tool and select about 3/4 of the layer. Fill it with white and deselect. (For the moment I have turned off the "column" layer.)

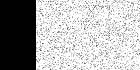
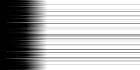
8) Now this next step is up to you. With layer "1" selected, select filter > noise > add noise and give your column a bit of black speckling.
Then select the single pixel column selection tool and select a single column anywhere in the white zone.
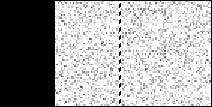
Then use the transform tool and stretch this selection to the full 3/4 size of your layer, which should now give you some varied shaded lines.
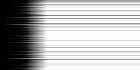
9) OK, now we add a little roughness around the edges. So, select filter > stylize > wind. You can play with the settings a bit but for the moment, just select the "wind setting" and "from the right". This should give you a little distortion around the edges like below.
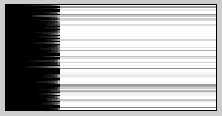
10) It not look like much but when we select filter > blur > motion blur (at 0 degrees and at about 35 pixels) then the rough edges should be more exaggerated and noticeable.

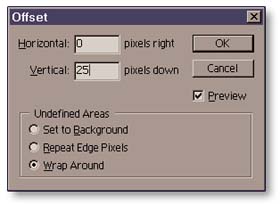
11) Now, make a copy of layer "1" and rename the new layer "2". Then select filter > other > offset and set it to 25 vertical, 0 horizontal and "wrap around".
12) Copy layer "2", rename it to "3" and do the same offset.
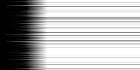
Then, finally, do the same again for a 4th layer and, therefore, a fourth frame.
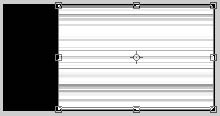
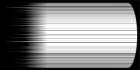
13) Before we turn it the right way up, you might want a little bit of shading to the column so we begin that by creating a new layer which will be place permanently under the "column" layer (Which I have turned back on noe). Rename this layer "shader" or something.

Now, create a mirrored horizontal gradient from the centre of the column and set that layer to multiply. Play around with the opacity so that it is not too dark.

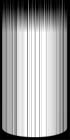
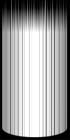
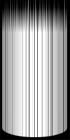
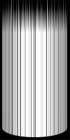
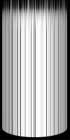
14) Finally, go to Image > Rotate Canvas > 90 degrees CW to turn your energy column the right way up.
Now from here you can play around with the layers, resizing them, etc to get your animation. The layers 1 through 4 are meant to be used as a loop in your animation to give your column a sense of action. Below is an example of what frames I made.
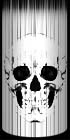
Before I leave you, though, here's a little tip which can spice up your column. Basically, get a photo or some artwork of a crazy skull or something, convert it to greyscale then add it to your column. Use smear and other tools to blend it in more. You could also try adding slight distortions to the skull so that it animates with the column. Cool, huh?
 +
+ =
=
| Now let's see how we make "Slashes" |
|