![]()
Again, if you are not happy with the polar coordinates version of the spike burst, there is an alternative. With this technique, we use paths and vector shapes to make the base shape for the sprites. If you are not familiar with paths and vector tools, I suggest you get to know them because they are good for making nice clean shapes.
I must warn you before we start that this technique involves more work but will give you a cleaner result.
1) Start Photoshop with a 200 by 200 canvas filled with black.

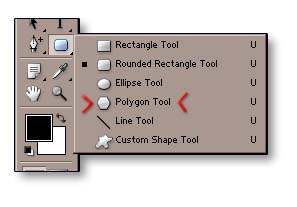
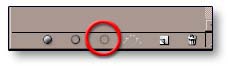
2) Click on the triangle on the shape tool and select the polygon shape icon (it looks like a hexagon). At the top of your screen you should now have a new bar under the menu.
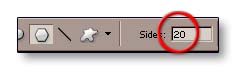
3) Before we draw the polygon, we need to change the settings a bit, I've added quite a few extra sides because we want a burst with a nice number of spikes (I've picked 20 sides).
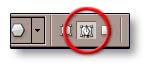
Also, you can have an icon selected so that you can either get a filled vector shape or an empty one, although, I usually pick the empty one.
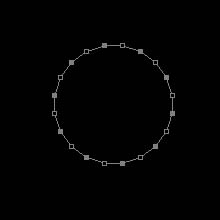
4) While holding shift, click and drag on your canvas until you get a nice small circular shape.

Try to keep this circle as central as possible. You will notice that I have made it a small circle but don't worry because there is a good reason for this and you will see soon.
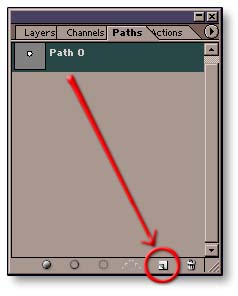
Before we do anything else, though, go into your paths palette (or if you can't see it, select 'window > show paths' in your menu) and click and drag the shape layer onto the new path icon. This ensures that your path is saved for future manipulation. At this stage, you might want to make a copy of this path to manipulate and have the original as spare.
5) Select the direct manipulation tool so that you can pick the individual points of your vector shape.

Now, select every second point in your polygon.
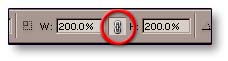
6) Press Ctrl + t to bring up the transformation tool so that you can now manipulate your chosen points with more control. Increase the size to about 200% - 300 % (don't forget to click the little chain icon in the middle so that both the height and width scale evenly).
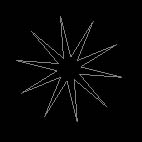
This should give you a nice star shape.
Press enter twice to get out of transform and deselect the points.
7) Now, in the path palette, click and drag the path layer onto the new path icon so that it makes a copy of that path. Rename this to something like "path 2".
8) Select all the outer points and use the transform tool to increase the scale of these points by 200%
 .
.
Then select the whole shape and, using the transform tool, rotate the whole thing by 120 degrees.
9) Now go back and select path 1 and make a new copy of it. Rename it "path 3" or something.
Again, select all the outer point but this time scale then by 150%.
Once you've done this, select the whole shape and rotate it by 240 degrees.
10) The reason I am going for 3 shapes in stead of one big one is that it is easier to work with. If you had to work with a shape with, say, 60 sides, it just become less fun. Anyway, so now that we have our three polygon shapes you need to create a new path layer (in the path palette) and copy and paste each one of the shapes onto the new layer so that you end up with 3 overlapping shapes.
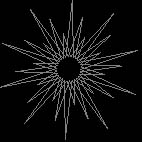
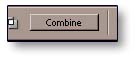
At this point, you may decide that you want to vary some of the points a bit to give it a more random look. Once you have done this, select all three overlapping shapes and select "combine" in the menu bar above, which should give you one big burst shape. (I also shrunk the overall shape a bit).
11) With this new burst shape selected, click on the "convert to selection" icon to change the path to a selection (well, duh!).
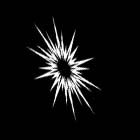
12) Go back into your layers palette, create a new layer (call it "burst") and fill the selection with white. Now deselect your selection (Ctrl + d).

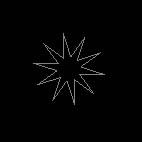
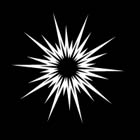
13) Make a copy of this layer, rename it to "burst black" and press Ctrl + i to invert the colours. This will make your picture just look black.
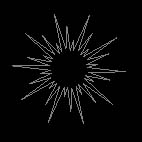
Have no fear, though, because Just press Ctrl + t and shrink this layer to about 50% so the whole image should now look like below.
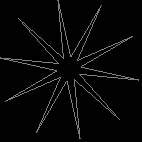
14) Now you have the basis for making you spike burst. All you do is now to copy and play around with the two burst layers so animate from small to big. Below is an example of a five frame burst.
15) Also, if you don't want the round shape then just use the transformation tool to squash and rotate each frame for a more oval shape.
| Now let's create an "Energy Column" |
|